Project
Explains project creation and environment settings.
Creating Project
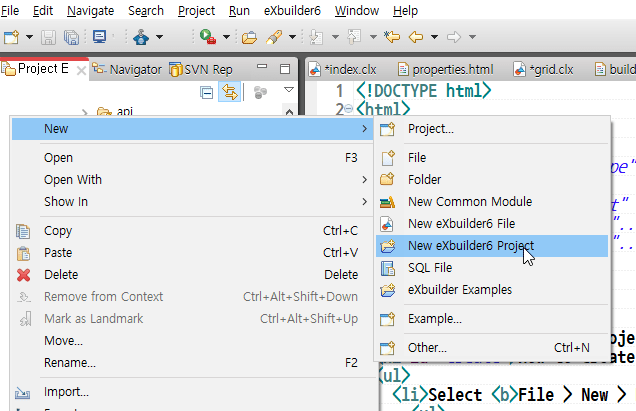
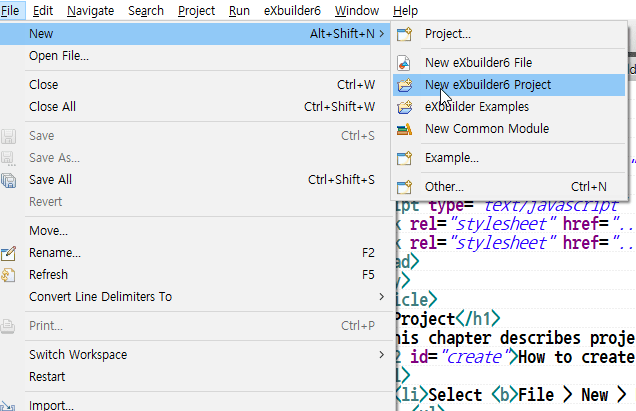
- An eXBuilder6 project can be created by selecting File > New > New eXBuilder6 Project in the global menu or New > New eXBuilder6 Project in the context menu.
- Create new project with global menu

File > New > New eXBuilder6 Project - Create new project from context menu
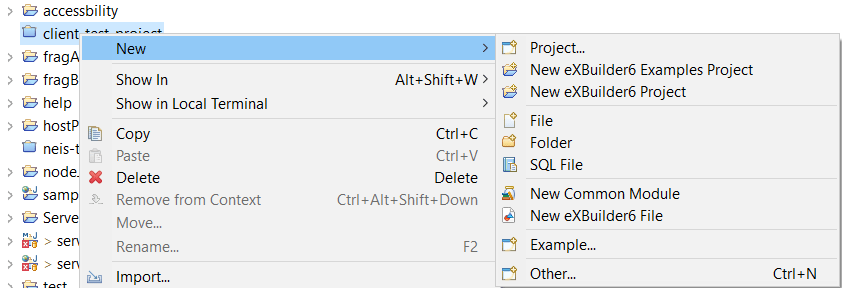
New > New eXBuilder6 project
- Create new project with global menu
- When the new project wizard opens, enter the project name as sample and select the [Next] button to move to the project settings.
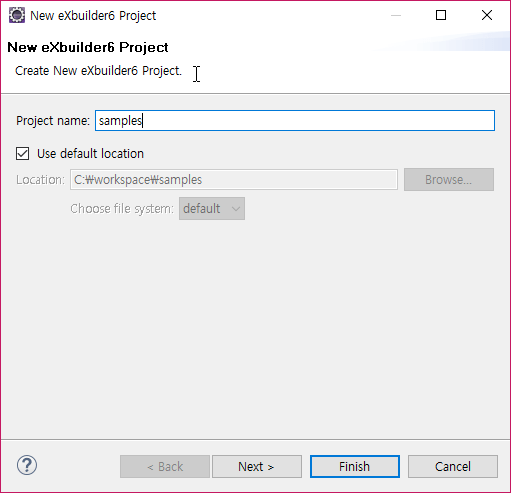
Project Creation Wizard 1 - After entering the build settings, select the [Finish] button to create the project.
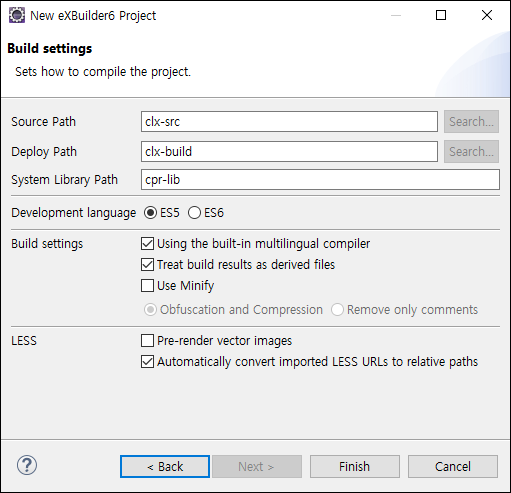
Project Creation Wizard 2 Item Description Source Path Set the source working path.
Distribution Path Sets the path where sources (clx, udc, module, language) are compiled.
system library path In the distribution path, set the path where udc, module, and multilingual are stored.
Using the built-in multilingual compiler Set whether to use the language file provided by the studio. If unchecked, language files are not created in "System Library Path".
Vector image pre-rendering Compile SVG files to PNG format.
Treat build artifacts as derived files Whether to set the folder property of the deployment path to the Derived property. If the Derived property is set, a warning message appears when editing files in the distribution path.
Use source compression and obfuscation Sets whether to obfuscate and compress or remove only comments on the contents of the file created in the distribution path. When obfuscate and compress are selected, the source is obfuscated; when only comments are selected, comments are removed.
- In the created project, the theme folder that composes the basic style of eXBuilder6, the udc folder that manages user-defined controls, and env.json that sets resource references appear.
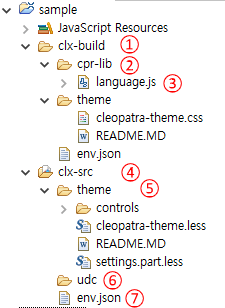
Directory structure of the created project - Distribution Path
- System Library
- Built-in multilingual files
- Source Path
- eXBuilder6 default theme file
- User Controls Management Folder
- Runtime environment configuration file
- Template file
Project Setting
- You can set the design editor, screen, compiler, and ID policy through project settings.
- Go to project settings looks like this.
- Select the project, open the context menu and select properties.
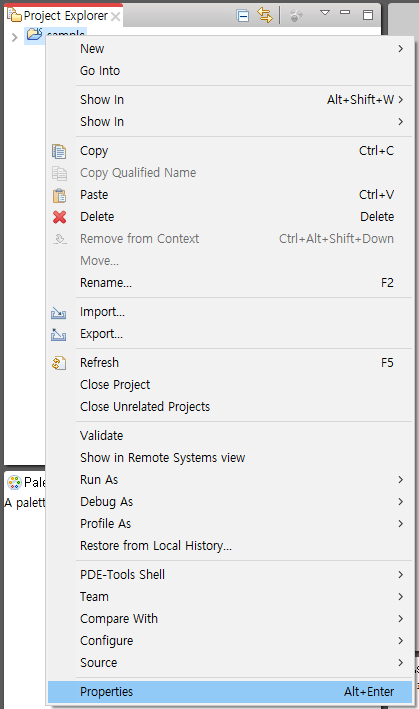
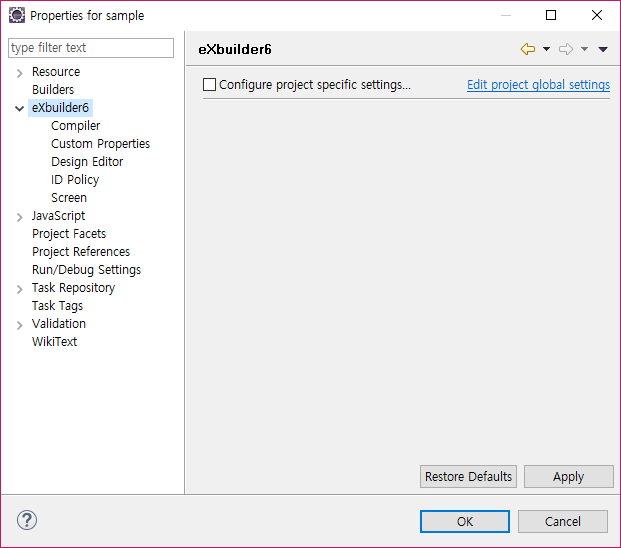
- Select eXBuilder6 in the project properties popup.
- Select the project, open the context menu and select properties.
- The project settings provide:.
Item Description eXBuilder6 Change settings related to eXBuilder6 project
Design editor Grid size, spacing, and margin settings applied to the design editor
Script Editor Set the policies used in the script editor
Project Standard Establish project standard elements
Compiler Set source path, ship path, system library path
Use source compression and obfuscation
Utilize eXBuilder6 Templates
You can easily create screens with the same configuration using templates.
Create and use templates
- Template files can be created in the eXBuilder6 project > templates folder..
- The script form of the template can be set in Window > Preferences > eXBuilder6 > Script Editor > New Element Template.
- Templates can be used when creating eXBuilder6 files in the source folder.
- Since the path of the image and embedded app in the created template cannot be deduced from the location of the app that will use the template, it is set to an absolute path, and when using a template, it is automatically converted to a relative path.
- Templates cannot be used in udc files.
Here's how to use the template.
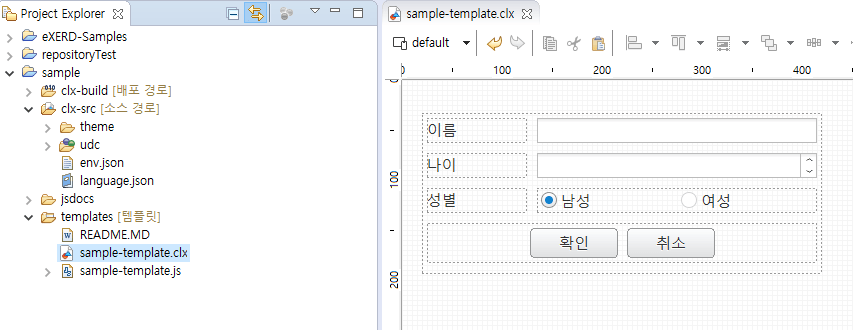
- Create an eXBuilder6 file to be used as a template in the eXBuilder6 project > templates folder.
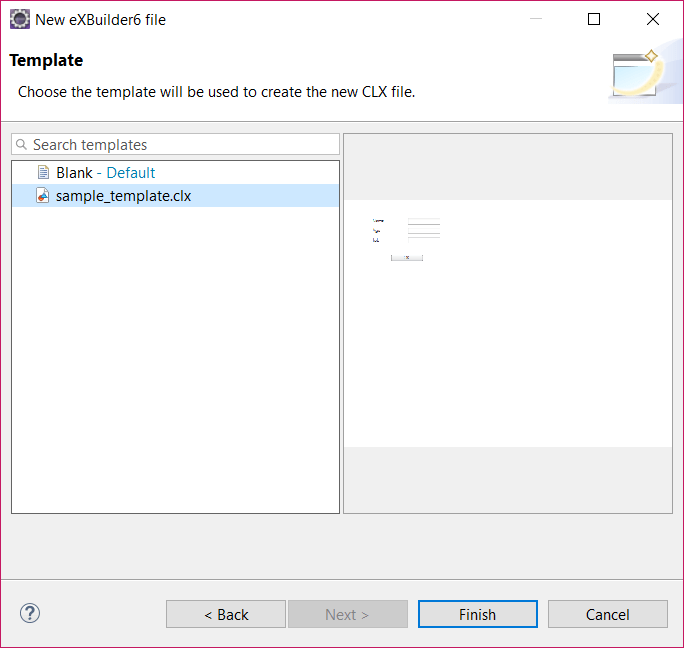
- Select the New eXBuilder6 File item from the source folder context menu.

- Choose the template you want to use.
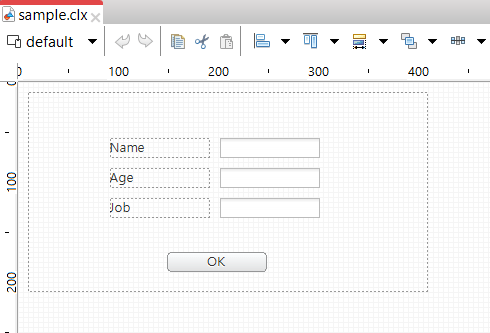
- This is the screen using the template.
HTML5 app export
Supports HTML export so that it can be used independently in a web server environment.
- Select the eXBuilder6 project and select [Export] from the context menu or File > Export from the global menu.
- Project's context menu
Select [Export] from the context menu - Global Menu
Select File > Export from the global menu
- Project's context menu
- In the export dialog box, select eXBuilder6 > HTML5 Application and click the [Next] button.

Export Dialog - Set the publishing path in HTML5 application export.
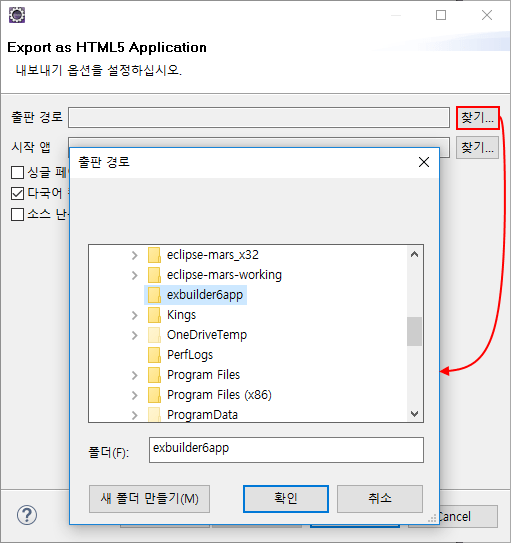
Set up publication path - Set the index page in HTML5 application export.
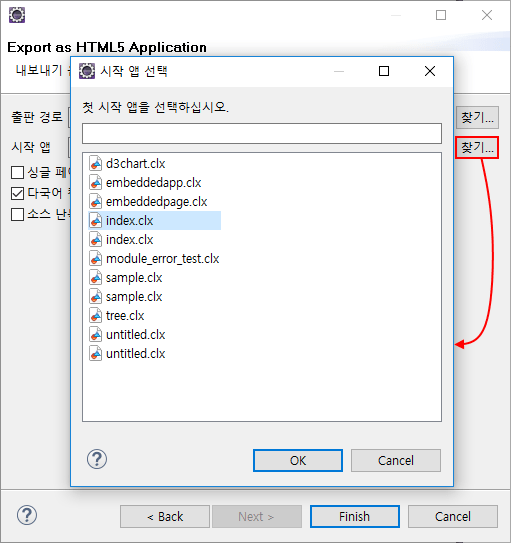
Set up startup app files export options Name Description Export as single page app Combines individual pages into one export. Using multilingual compilers Use multilingual built in project. Source obfuscation Obfuscate the scripts written on the page and the scripts on the page. - After completing the settings, click the [Finish] button to create the following HTML files in the publishing path..
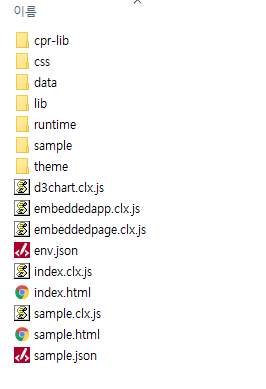
Created HTML file